Friday, March 25, 2011

Crazy Vespino Videos

Well it didn't take long before I found these gems...
Wheelie

MORE WHEELIE!

Two engines

THREE ENGINES!

Tuesday, March 22, 2011

Dia de Los Vespino pt. 2

Here's the video that gabe put together from Saturday. Bear with the long drill start intro...

Here's some more photos from the day that I stole from Gabe's blog

Gettin' my hair did..THANKS MAGS!.

In bummer news, while cleaning out the rear wheel hub to hopefully improve my rear brakes, I noticed this...

A cracked mag! It's cracked almost halfway through. Here's a close up...

What a freaking bummer. Now I'm trying to source a new wheel. I know that I can get one from Spain, but I have a small lead on one in the US (strangely enough). Fingers crossed...The other option however is to try and weld this one back together. I'm told by Francesc from vespino.es that I can "solder weld aluminum" or so that's what google translate tells me he says. I'll have to look into that option as well.

Monday, March 21, 2011

Dia de Los Vespino pt.1

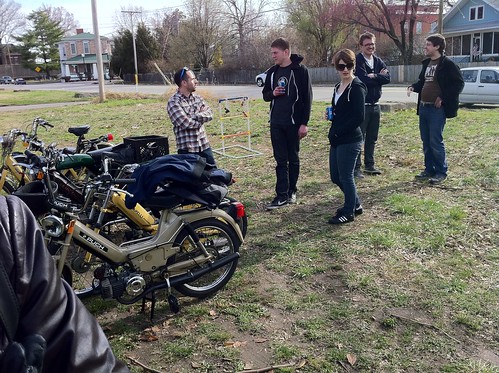
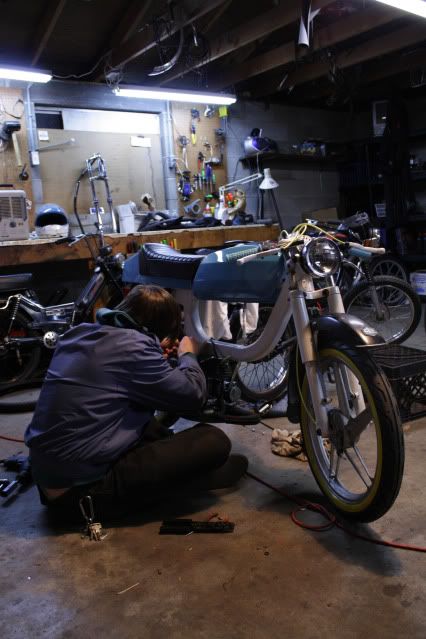
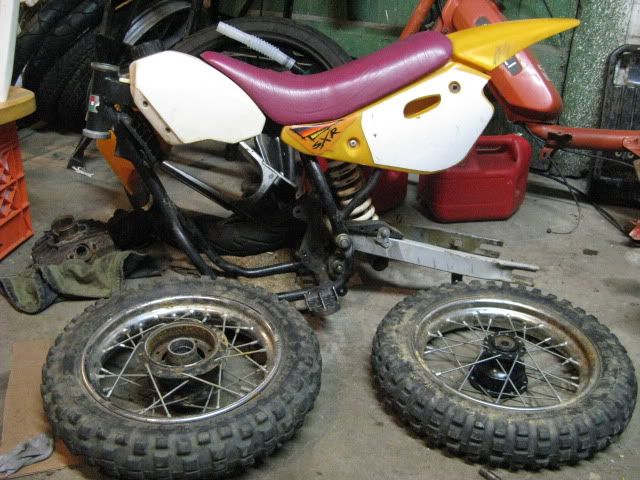
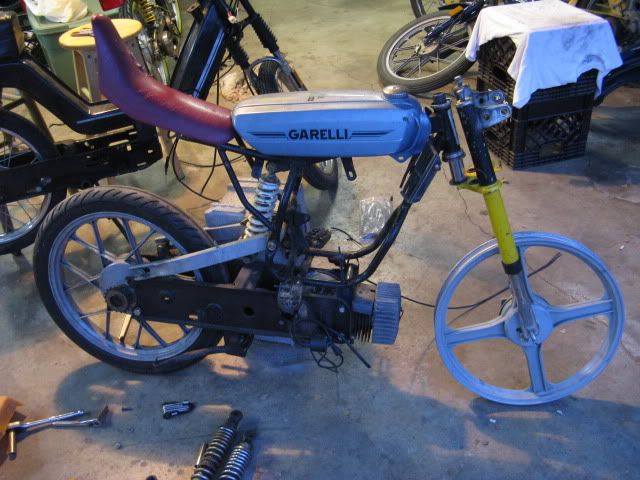
This weekend was full of cooking out, drinking beer, playing lawn games riding and wrenching on mopeds. Here's Sean and Neal playing ladder golf.

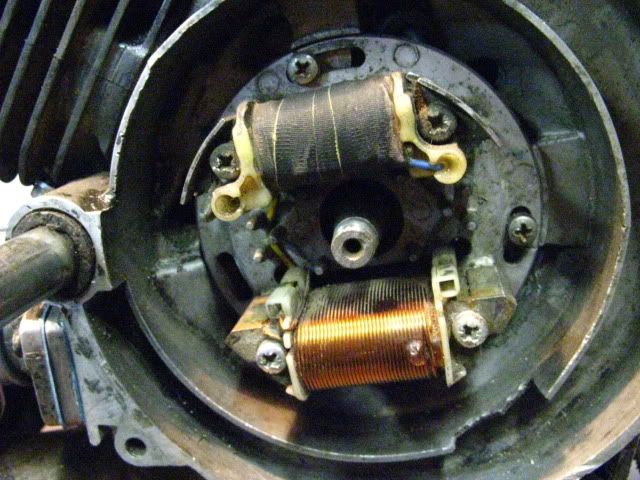
The most exciting news however was that I worked out the ignition problems in the Vespino! While checking for spark we noticed that it was sort of weak and orange in color. By 
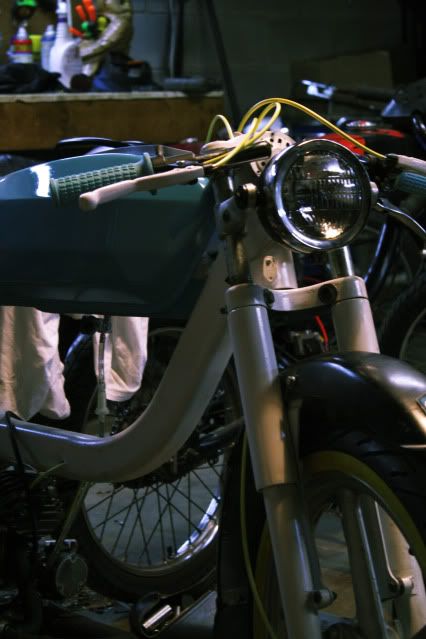
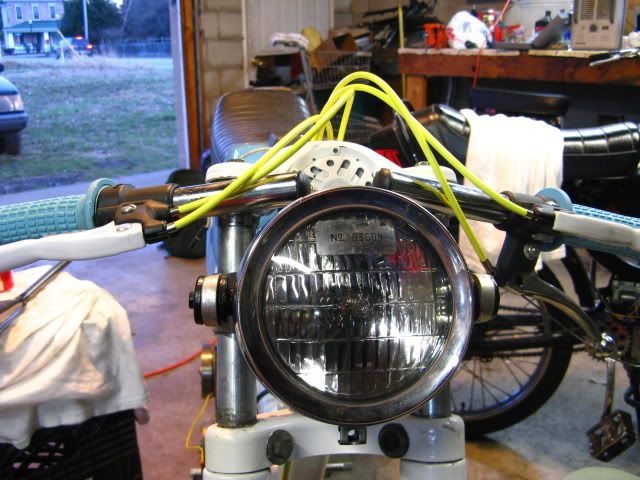
Responsible John's recommendation I tried to adjust the coils a little bit so that they would run a little closer to the inside of the flywheel. After adjusting and readjusting I got them set just a little closer. We also used an existing timing mark on the stator and lined it up with the edge of one of the bolt holes. You can see the timing mark by the right screw...

This was a stab in the dark that paid off because the bike fired right up! I got to ride it down the street a little bit. The Metrakit seems like it has some good potential and feels a lot like the Puch kits. The circuit pipe that I have didn't really let me get up too fast (nor does the 14/12 carb). I still have a lot of tuning to do. Gabe took some video of the maiden voyage which he's editing together and I'll post up soon.

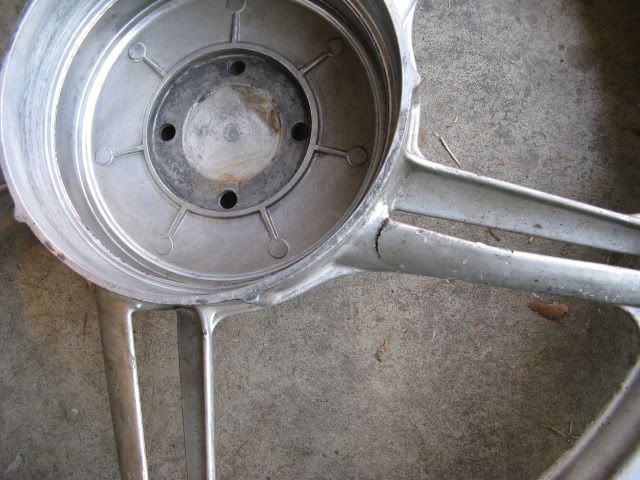
I still have issues however. The rear clutch is constantly engaged and kills the bike when trying to idle. After taking the clutch bell apart, reviewing diagrams, etc. I had an idea. Nate and Mark thought that I was missing a piece that holds the start clutch arms together mostly due to this image...

This photo makes it look like there's a piece that the little arms connect with...But I really dont't think there's anything missing.

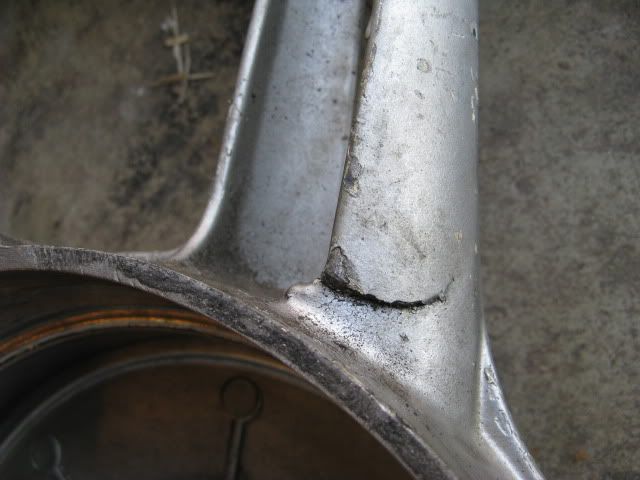
Here's my take on the Vespino clutch:
1. It's a poorly designed system. It has two little spring like tabs that force the clutch out inside of the bell.
(picture from vespino.es)
2. It works as a "slip clutch". It's always engaged, but when the bike slows its allowed to slip backwards as the clutch bell spins. This means that when you try to push the bike forward its engaged; you can move it backwards with no problem...but forward is hard work.
3. However at idle or very low rpm's it doesn't know what to do, so it occasionally grabs and kills the engine.
4. With this in mind I realized the function of the bicycle mode. The original design for the vespino had a separate throttle on the left side that you twisted to engage bike-mode. This is necessary as it disengages the clutch and allows the engine to idle at a stop.

I tested this theory last night and was finally able to get the bike to idle. Because I was starting the bike without the decomp lever, I just used that cable and lever for the bike-mode.

All it all it was an awesome day. So glad to get this thing at least starting. Still needs work though. Venga!

Friday, March 18, 2011

Pictures from Friends

Been working in the garage after work most nights...Sam has been joining me as she has been trying to get her maxi up and running. She took these the other night and I figured I'd post them up here for historical record and whatnot. Sometimes I view this blog as a yearbook...

Try and try again...

Wednesday, March 16, 2011

The days are long at mullberry...

I've been putting in a lot of good time at the ole' mulberry garage...the other day I did some spring cleaning and things got a little messy...

You may notice the little monster in the middle there...

That would be if this...

and this mated...

Surprisingly more parts lined up than I thought would. It started as a joke when someone mentioned that I should do something with that little frame and it turned into something that might actually happen. It's going to be super short, and instead of foot rests will have shin rests. You'll ride it sort of superman style with your shins resting on planks. Not going to be fast...but going to be ridiculous. Here's the most recent mock-up sans fairing...

Speaking of monsters...if you want your foam air filter to turn into the incredible hulk, just spay it with brakes parts cleaner...

It get's all angry and expands to 3 times its original size. Watch as Adam Gruber make this mistake and can't put his air filter back together...

The solution...just give it some time to cool down and it eventually turns back to its original size. If your foam filter remains expanded for more than 4 hours you may want to consult a doctor...

Tuesday, March 15, 2011

Cables and Spark

We're in the final stages now. After some tricky maneuvering I was able to get all the cables run.

You'll notice they all go in the head tube and inside the frame. There are little holes that pop out at various locations so that the cables can run directly to where they need to go.

Nice and clean.

At first I wasn't able to get spark. After changing out the spark plug boot (which seemed sort of loose) spark was attained. I have gotten the bike to back fire with carb cleaner, but have not been able to get it to stay running or to start with gas alone. I have no idea what direction the stator is supposed to go on (which I feel is the first part of my problem). This is how it is currently set up...

From here I've just been trying to start the engine with a drill. When that doesn't work, I pull the flywheel readjust the stator, and try again. So far its been unsuccessful. There are two little marks (one on the stator and one on the case) however when you line these marks up the screws don't line up. I'm not sure if they are just some sort of damage, or intentionally there. Any suggestions out there?

Friday, March 4, 2011

Vespino Day Dreams

Sketched this out in a meeting...

Rain, rain go away...