Monday, February 28, 2011

And so it begins...

Even though I'm waiting on the correct needle bearing to come from Spain...I found something that will work for now...So last night I got crackin'. I finally was able to put the engine together and mount it to the frame. Because one of the case halves is the subframe, you have to start with the engine and then attach everything to it...kind of. This is a very excited me...

Here's a close up picture of how the engine fits snug up under the frame...Notice that the pedal chain is somewhat internal. It fits under a metal plate that separates it from the variator and clutch.

What's that carburetor doing down there?

Here's another picture after fixing the clip on's, adding the controls and grips, and attaching some fairing...which I will most likely will leave off the bike. It's looking beefy so far...

Lots of good moped work being done at the ole' Mulberry garage. Sam (our new friend from Cincy) was over working on her maxi and used her first angle grinder.

Tuesday, February 22, 2011

Real friends, blog friends, awesome friends...

After searching the majority of the day on Friday for the missing link to my build (previously posted needle bearing hunt), and coming up without avail, I decided to join a few of my fellow bandits for a trip to Goshen for moped fix it party/welcome back to Indiana Responsible Jon bash. I didn't take a camera with me so I'll steal some photos from the blogosphere...
I passed the time by drinking and playing ping pong...

I then moved on to tall bikes...but the tall tall bike was too scary for any of us non-circus folks to actually tackle...

I strangely found myself in a threesome...

And borrowed a quarter (that I'll inevitably forget to pay Responsible Jon back for) to find out that my life expectancy was "average"...

All in all it was a pretty fun weekend. Lots of East Bound and Down in the car on the way to and from...

In more awesome news: Devin from Motion Left gave me a contact for someone who already has the specs for the vinyl I need to complete the tank and seat pan on the vespino. I want to add the G3 stripe in yellow and white. Super stoked about that.
Big thanks to Gabe and Phil for their photos. And of course Devin at Motion Left for hosting such a great time.

Friday, February 18, 2011

On the hunt...

The hunt for a needle bearing solution continues. I spent the better part of the day going from bearing shops, to chain saw world, to the hardware store, etc etc. and no one could help me out. What I really need is a needle bearing that is 12 X 17 X ? (13, 14 or 15) should all work. All can be found in Spain from my vespino parts dealer, but I'm having great difficulty finding them here. This SUCKS because it means that I'm missing 1 small part which will not only take time to get here, but also I'll have to go through a bunch of hurdles just to pay for it. I'm hoping that I can figure something equivalent, but so far its not looking good. Bonerjamz.

Sunday, February 13, 2011

Mellow Yellow...

Two posts in two days! What the?!? The weather has been kind to me and has allowed this to happen...that and I need to keep busy in order to not be depressed. Went to the garage today to F I N A L L Y start putting this engine together and...the crank that I had pressed in has a different sized diameter the original! What the deuce!? I'll have to figure something out. The needle bearing for the pin is too small...so I'll either have to find a different needle bearing (with an ID for the pin and OD for the conrod) or find a brass bushing to press in that allows me to use the same needle bearing...bonerjamz. It figures that right when I start getting some forward momentum, that I run into something else...but that's life right...er mopeds...

So in the meantime, I installed the yellow-wall inserts.

I tried a while back to put these on and just could not get them to seat right. You have to deflate the tire, shove them between the rim and tire and then re-inflate. Then when you see that the inserts are way off on one side, or that the tire is no longer seated properly...deflate, push, or pull to get it back to center...and repeat. I spent a few hours doing this once and gave up for a little while. Thankfully today I got both tires done in under an hour.

While I had the engine set and ready to go, I figured I'd take some photos of the 65cc Metrakit that came with the bike.

Pretty excited at the potential of this kit. The Metrakit for Puch is such a solid kit, and I'm assuming the quality extends to other brands as well.

While inspecting the engine, I noticed this little lever that lives within the rear wheel between the brake...

At first I thought it was some sort of clutch, as it disengages the rear crankshaft from moving the rear wheel...but then it was brought to my attention that its just the "bike mode" lever. On the original handlebar set up there was what looked like two throttle assemblies...one for the gas...the other to engage bike mode. Why? Why would you ever need to be cruising around on your moped and just decide, "bike mode sounds good about now." I don't know. That's why I thought that this was some sort of clutch mechanism (and was honestly scared at the prospect of having to pull it every time I came to a stop light just to stop my rear wheel from engaging). I'm hoping to run a cable to a lever instead of having to add another twist throttle. Should be easy enough.

Saturday, February 12, 2011

Ryan Nichols: Man of Steel

I needed some more welding help the seat mount...Thankfully, Ryan Nichols (welding master) was able to help me out this weekend. First we had to create a tab for the slide mount located on the Sachs G3 seat. We did this using bar stock, but because it wasn't quite thick enough, we doubled it up. We did this by cutting a piece of bar stock, drilling holes in another and welded them together.

The holes work to add extra strength.

Next we scored the bar stock, bent it to a 90 degree angle and welded in the hinge. Once we had our tab, we drilled more holes to weld it to the seat post on the frame.

If you didn't notice, I have this problem where I paint things and THEN realize that there is still welding to be done. Oh well. At least the back bracket lined up perfectly.

We cut the tabs on the seat and used what was left to weld a longer bar with drilled holes for mounting to the existing tabs.

Here it is all put together.

Tuesday, February 1, 2011

Vespino Progress: Engine building

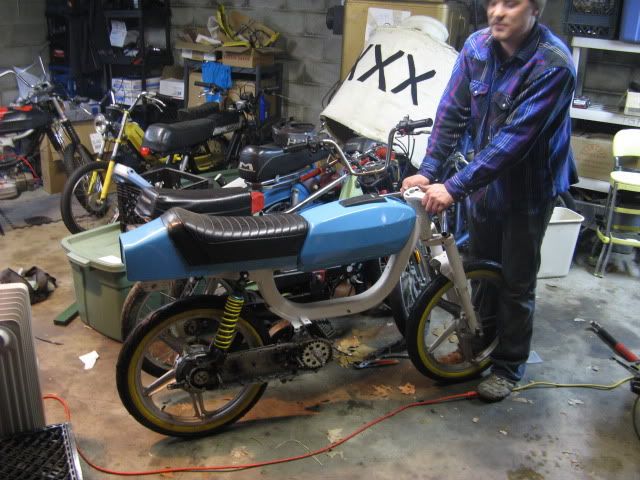
So finally its time to get cracking on the vespino. I've had it too long and I've been nervous to dive in to it. So I did like this guy:

Thankfully the vespino model that I have take two 6203 bearings which were easy enough to get from my local bearing shop. The first step is to get the bearing on the small shaft side on.

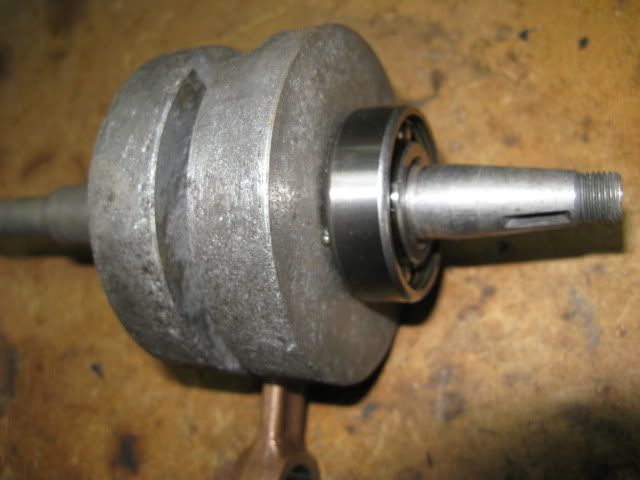
This can be done easily by putting the crank in the freezer and heating the bearings in an oven. I cook mine till tender at a temp of 300. (This is due to metal expanding when hot and shrinking when it gets cold) Then you get gloves and just drop the bearing on the shaft and whalla! If the temperatures were different enough the bearing should slide all the way down to the base of the shaft and you'll hear a "clunk." If not you need to work quickly to force it all the way down.

Next you have to maneuver the crank into the case. You have to make a plan of attack because like before we're going to be heating and cooling things again. Because I forgot to take a better picture of this process I'll borrow a picture from my friends at vespinos.net.

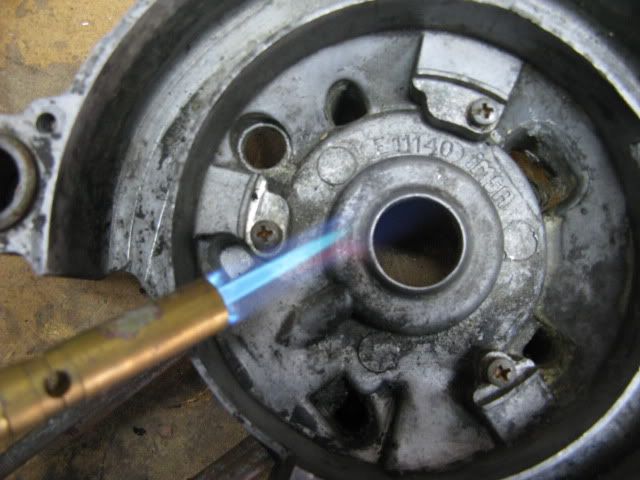
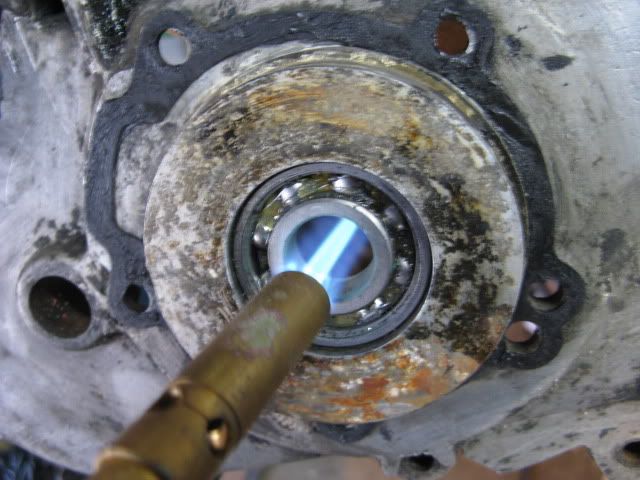
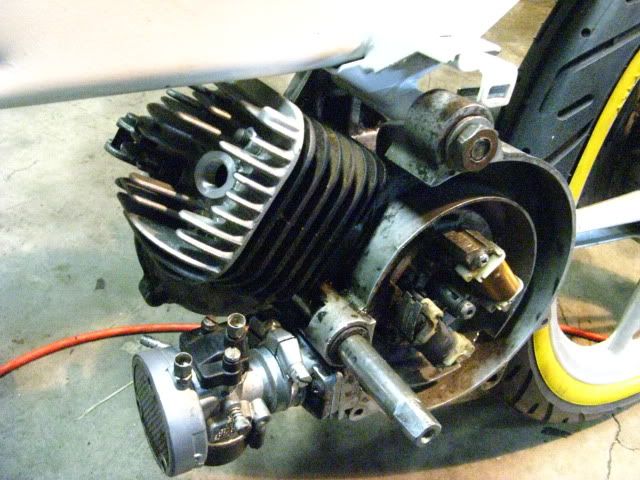
Once you have a game plan, you then need to start by heating the case to receive the bearing...and put the crank in with the frozen foods.

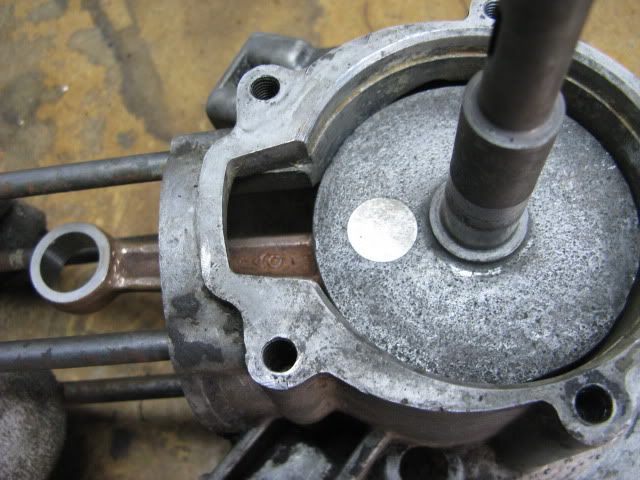
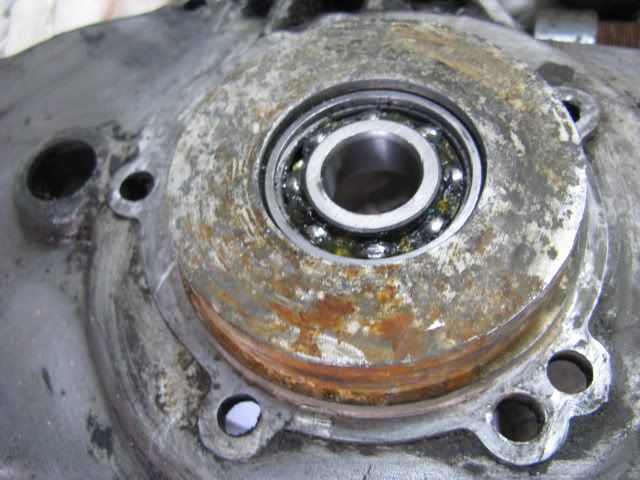
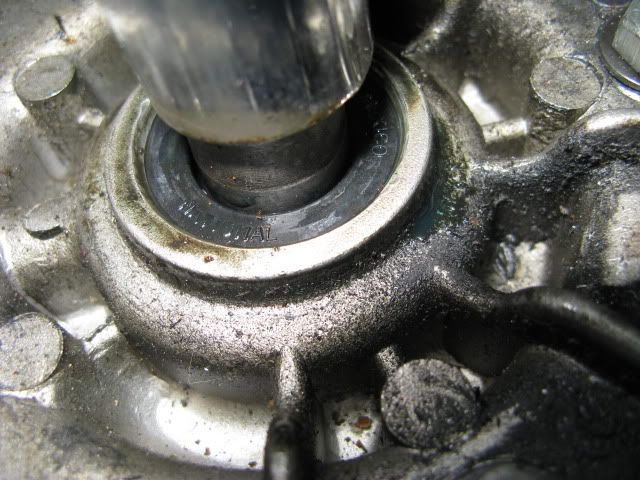
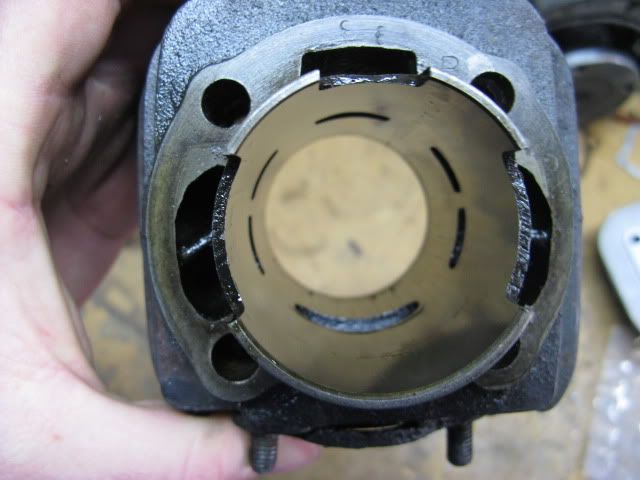
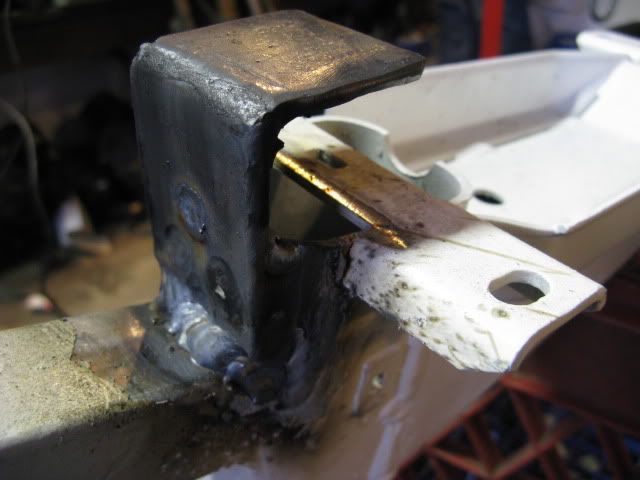
3-2-1 go. Work quickly to wrangle that crank into place. You can tap the long crankshaft with a rubber mallet to really make sure the bearing is seated properly. It should look like this.

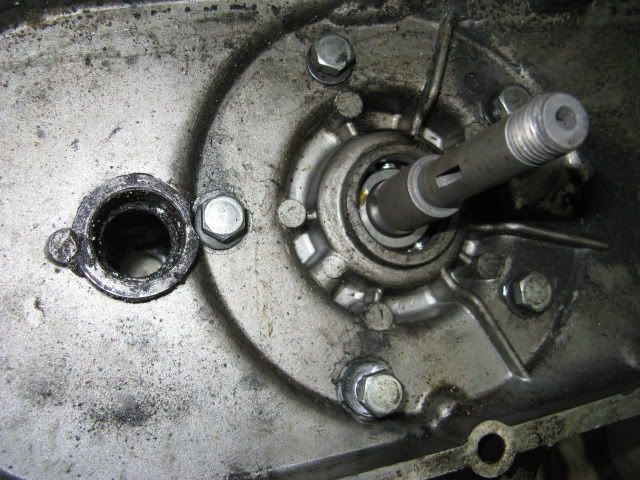
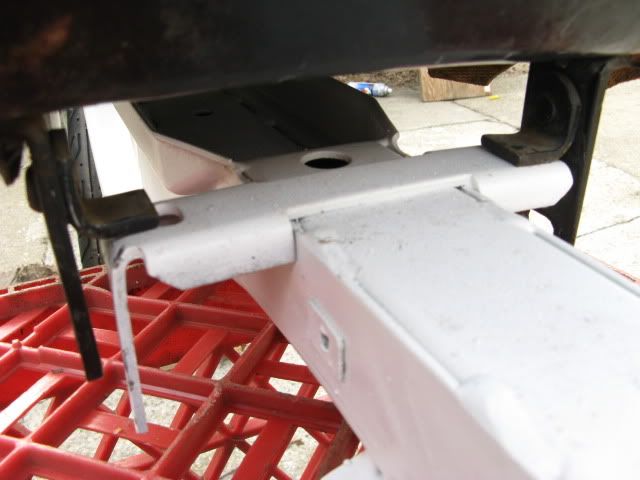
Next you need to install the bearing into the long single sided subframe thing (which strangely is the other case half). This time you need to use reverse thinking by heating the opening and freezing the bearing.

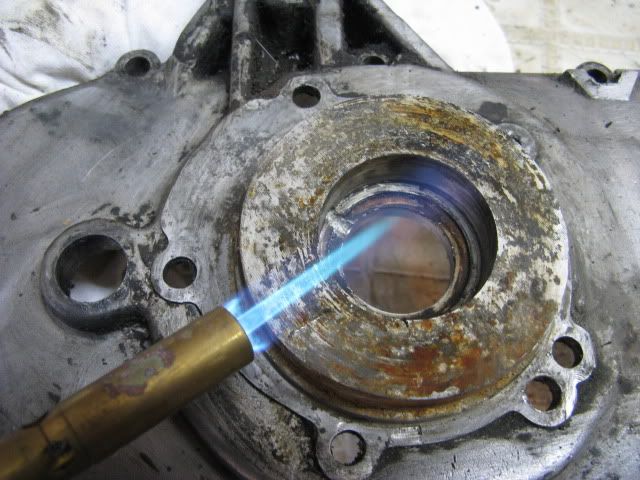
Even after doing this, I had a hard time getting my bearing to drop in right...it might be because my case is a little dirty...I used a hammer to tap it into place.

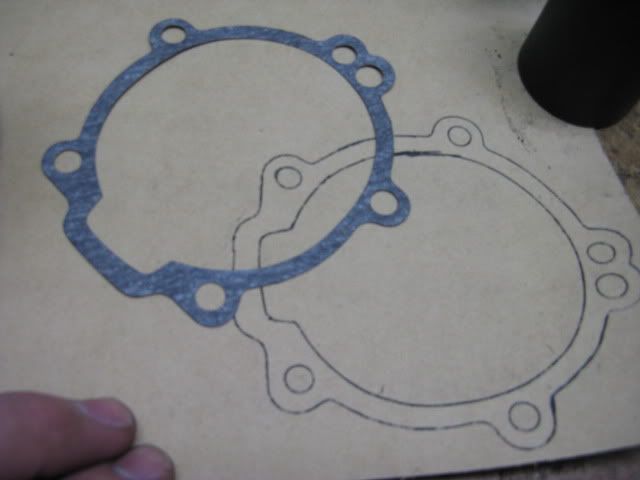
Now its time to join out cases! First things first though. When using a gasket for a Spanish moped that wasn't supposed to leave Spain...it might be a good idea to make copies of your gaskets for later use...

I always add a little Right Stuff to help with the seal...place the gasket and continue heating and cooling! Heat the inside of the bearing in the subframe and cool the half with the crank already installed.

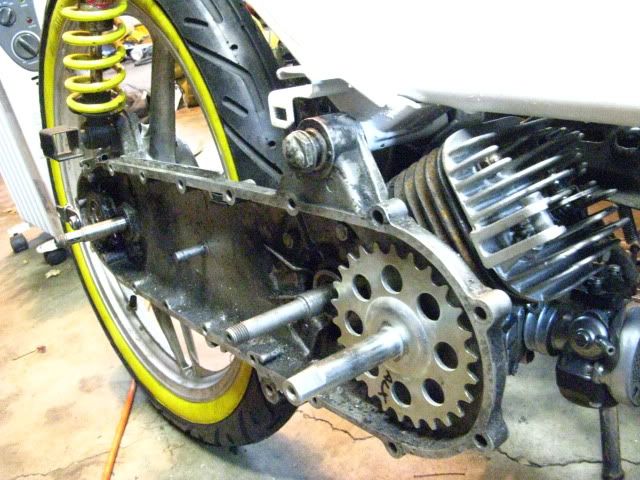
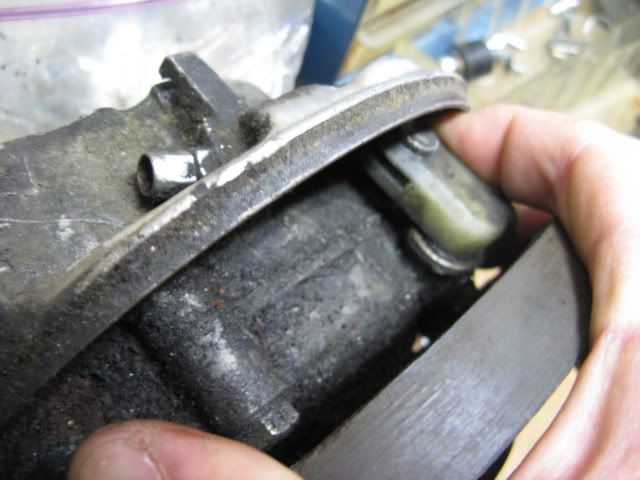
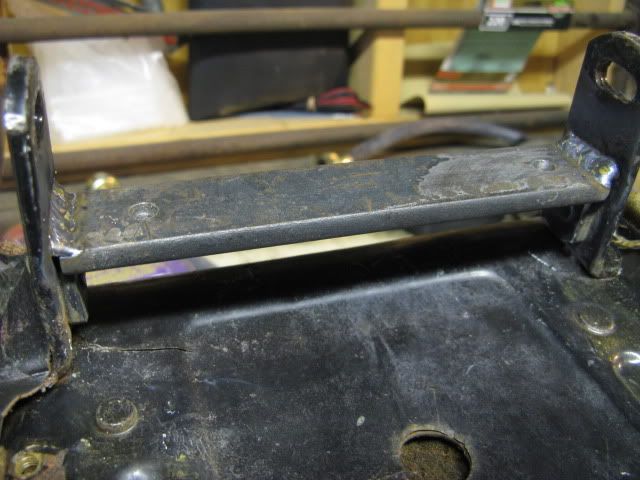
Then join the halves and tighten down the bolts in a cross patter so as not to pinch the crank webbing.


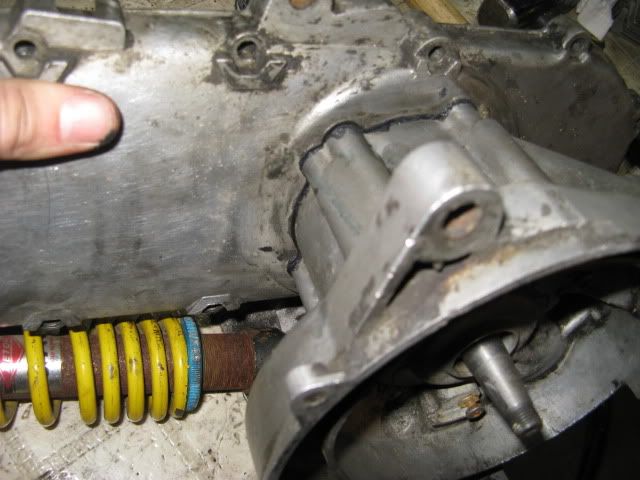
If installed properly the crank should still spin freely. Lastly, once everything has cooled down, install the seals. I used a handle bar to ensure that it was snugly in place.