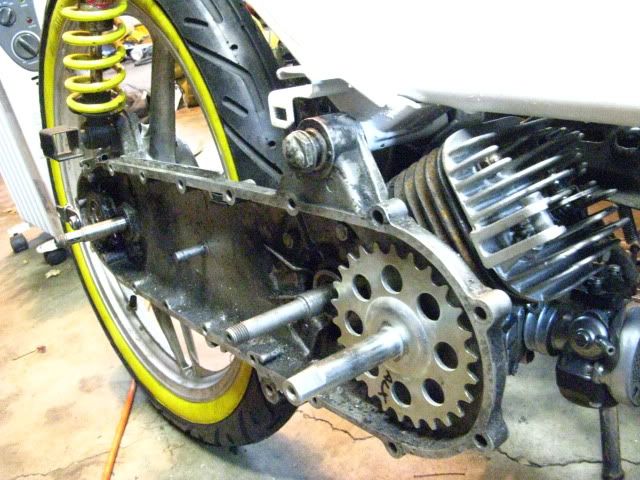
Here's a close up picture of how the engine fits snug up under the frame...Notice that the pedal chain is somewhat internal. It fits under a metal plate that separates it from the variator and clutch.
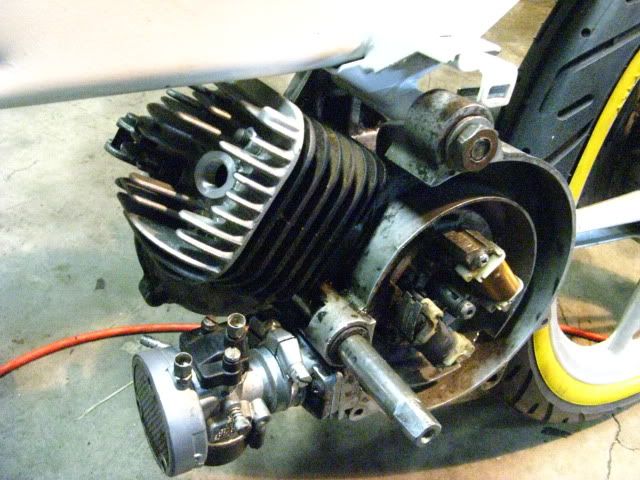
What's that carburetor doing down there?
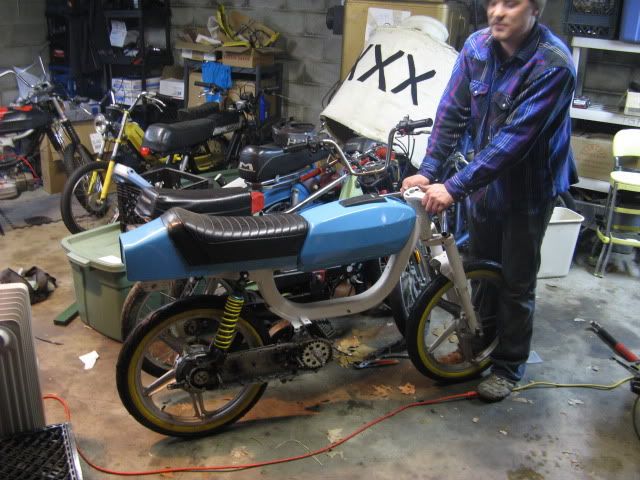
Here's another picture after fixing the clip on's, adding the controls and grips, and attaching some fairing...which I will most likely will leave off the bike. It's looking beefy so far...

Lots of good moped work being done at the ole' Mulberry garage. Sam (our new friend from Cincy) was over working on her maxi and used her first angle grinder.

YES!!
ReplyDeletewoohoo! lookin real sharp my friend. and i vote that you take the fairing off too, unless you paint it white, but hey, you do what you want! you're right, that thing is pretty beefy, but i like it.
ReplyDeleteMaybe I should pay more attention, but that monster looks nuts. Where is the exhaust port? Is that a vespa motor? What is this I don't even
ReplyDeletePhil, this is a Vespino. Piaggio opened a factory in Spain and created these. Unlike other mopeds, they pretty much just stayed in Spain. Technically they're vespa, but they are their own design.
ReplyDeleteNormally they look more like scooters. When I get closer to getting my bike all together, I'll post up photos of before and after so you can see what I changed.
In this picture, the exhaust is missing. The exhaust port is on the bottom of the cylinder and has two bolts that come out similar to a Puch.
that bike is so crazy. glad to see it coming together, definitely one of a kind!
ReplyDelete