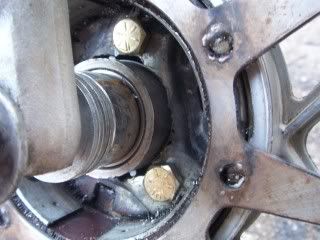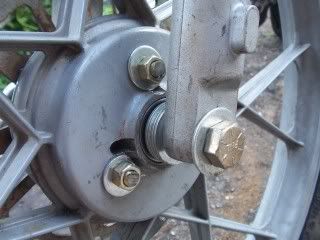
I used a hobbit variator plate to work as a brace. I had to use a dremel to widen the hole in the middle of the plate so that it would fit around the inner axel.

I then drilled 3 holes in the plate and 3 holes in the opposite side of the wheel. Then I bolted it all together nice and snug. Thus holds the disc on the wheel.
NOTE: Drilling holes in the super duper hard metal that makes up the hobbit variator plate was VERY unsuccessful at first. We went through many drill bits; crappy bargain supply ones first and then nicer ones. I had to go out and buy another set.

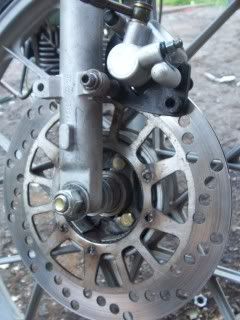
Thankfully mounting the calipers wasn't too difficult. There was an extra set off of a chinese scooter in a box that Ryan Nichols had in the garage that fit nicely. In order to get it to mount I had to turn the forks inside out for spacial reasons. Then thankfully there were already tabs on the forks that lined right up with the calipers. MOPED LUCK! One bolt, a spacer and a few washers later and it was ready to go...After going through the whole brake fluid bleeding process.
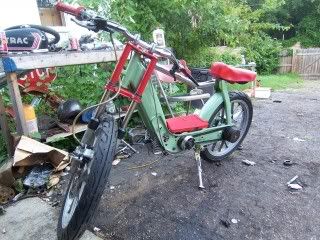
Things are coming along nicely.

Neato!
ReplyDeletethe flywheel disk mount blew my mind. amazing.
ReplyDelete