Tuesday, February 1, 2011

Vespino Progress: Engine building

So finally its time to get cracking on the vespino. I've had it too long and I've been nervous to dive in to it. So I did like this guy:

Thankfully the vespino model that I have take two 6203 bearings which were easy enough to get from my local bearing shop. The first step is to get the bearing on the small shaft side on.
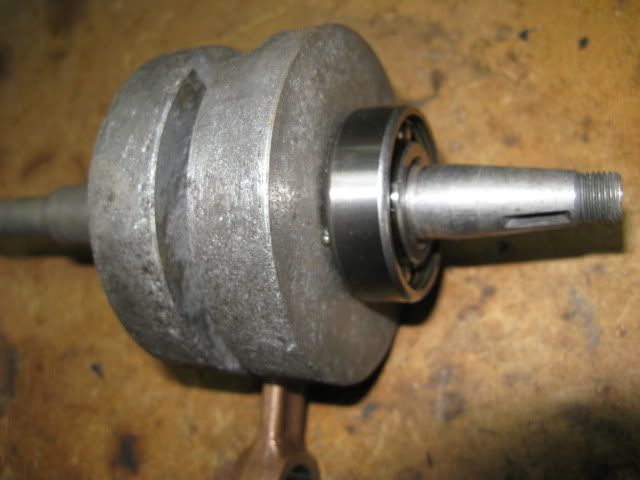
This can be done easily by putting the crank in the freezer and heating the bearings in an oven. I cook mine till tender at a temp of 300. (This is due to metal expanding when hot and shrinking when it gets cold) Then you get gloves and just drop the bearing on the shaft and whalla! If the temperatures were different enough the bearing should slide all the way down to the base of the shaft and you'll hear a "clunk." If not you need to work quickly to force it all the way down.

Next you have to maneuver the crank into the case. You have to make a plan of attack because like before we're going to be heating and cooling things again. Because I forgot to take a better picture of this process I'll borrow a picture from my friends at vespinos.net.

Once you have a game plan, you then need to start by heating the case to receive the bearing...and put the crank in with the frozen foods.
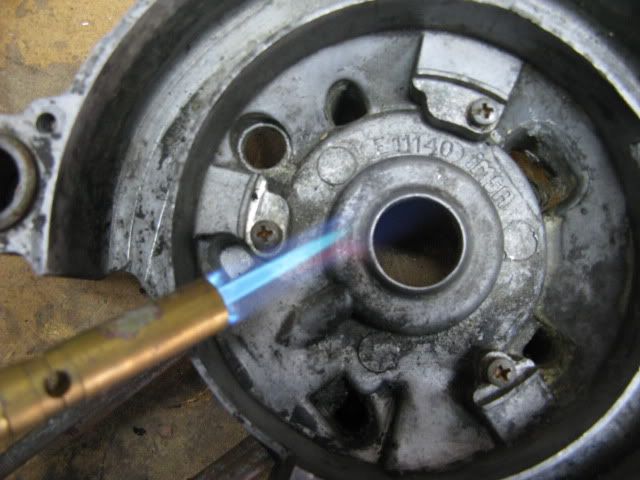
3-2-1 go. Work quickly to wrangle that crank into place. You can tap the long crankshaft with a rubber mallet to really make sure the bearing is seated properly. It should look like this.
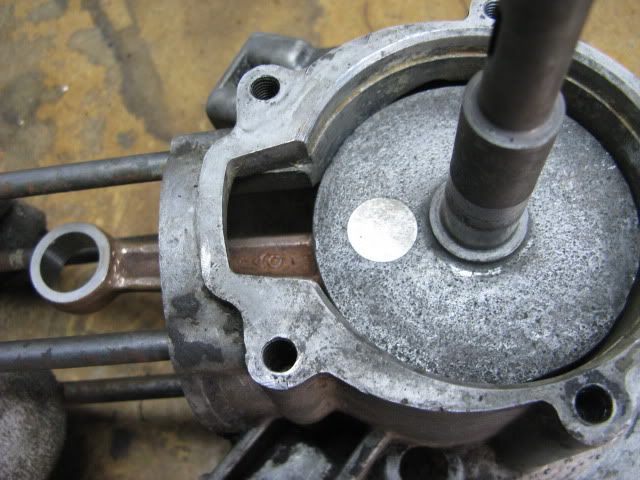
Next you need to install the bearing into the long single sided subframe thing (which strangely is the other case half). This time you need to use reverse thinking by heating the opening and freezing the bearing.
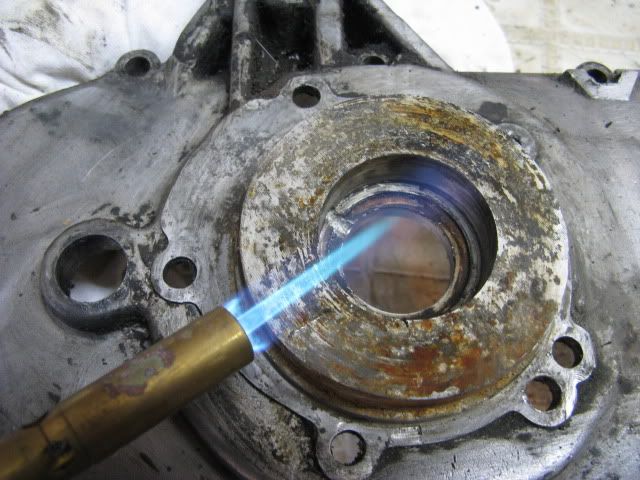
Even after doing this, I had a hard time getting my bearing to drop in right...it might be because my case is a little dirty...I used a hammer to tap it into place.
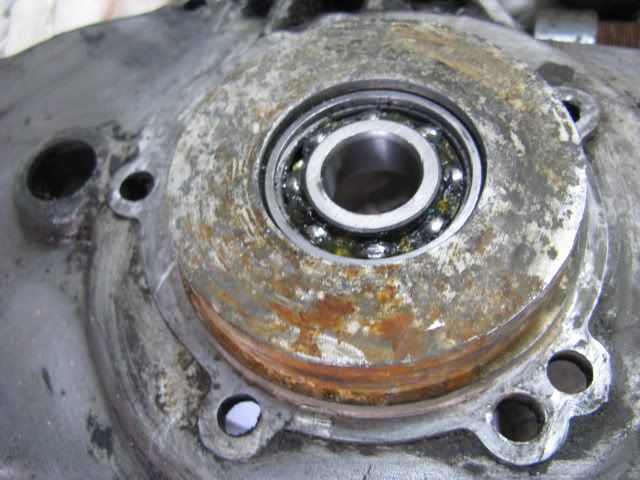
Now its time to join out cases! First things first though. When using a gasket for a Spanish moped that wasn't supposed to leave Spain...it might be a good idea to make copies of your gaskets for later use...
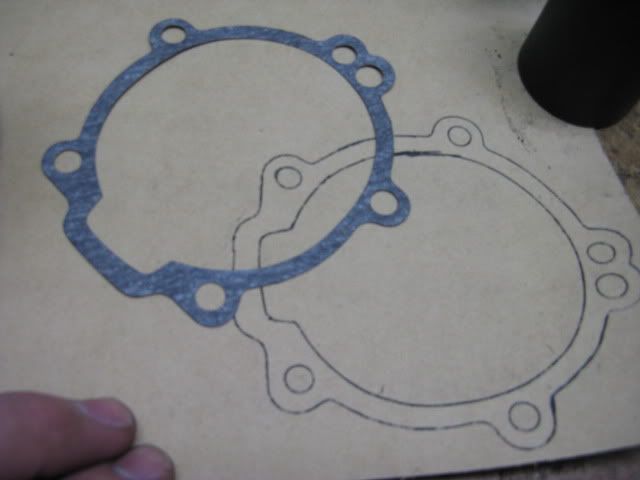
I always add a little Right Stuff to help with the seal...place the gasket and continue heating and cooling! Heat the inside of the bearing in the subframe and cool the half with the crank already installed.
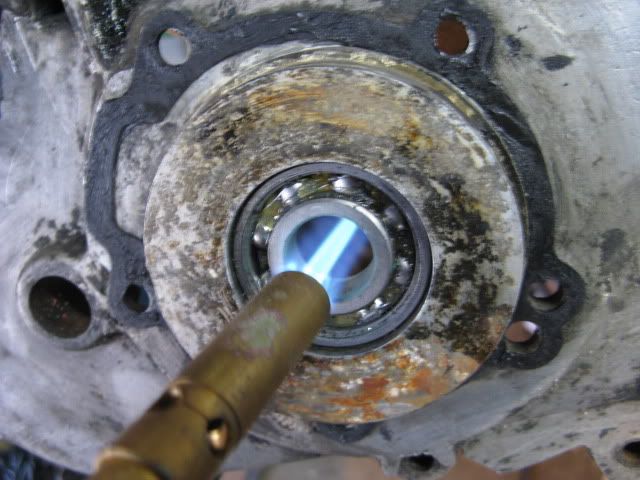
Then join the halves and tighten down the bolts in a cross patter so as not to pinch the crank webbing.
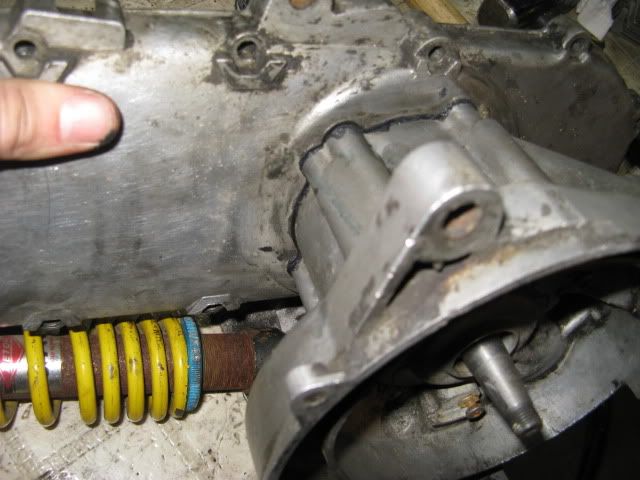
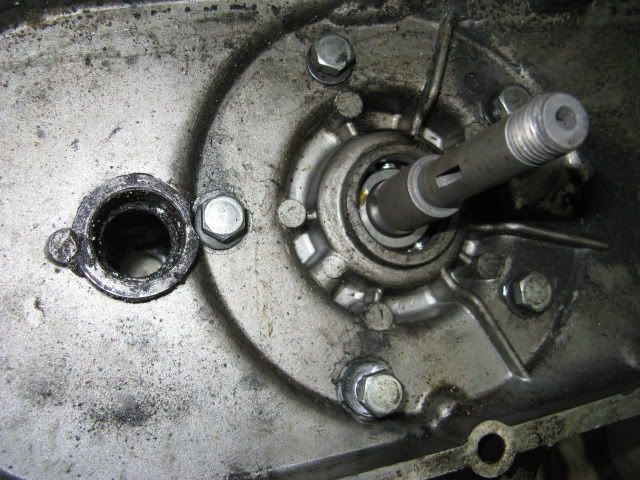
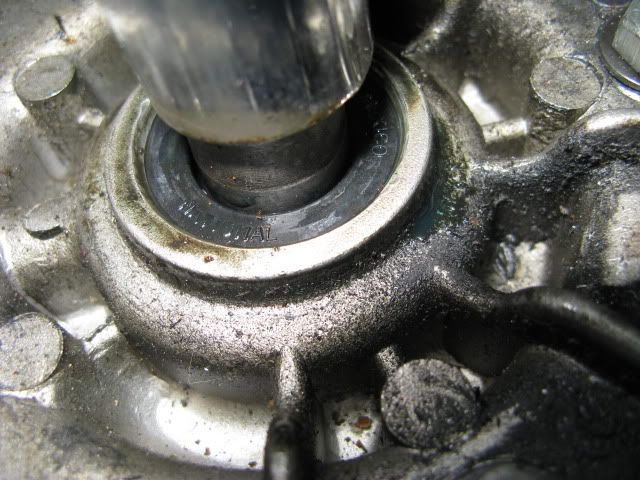
If installed properly the crank should still spin freely. Lastly, once everything has cooled down, install the seals. I used a handle bar to ensure that it was snugly in place.
Sunday, January 16, 2011

This is happening...

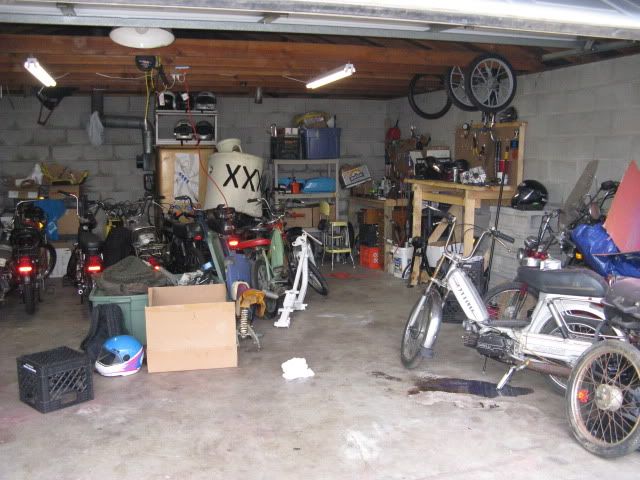
So after some life hiatus, I'm back with some changes and updates. First...I'm in a new shop! Fellow bandits, Elder, Adam, Kitty, and Neal adopted me into their garage...unfortunately in one night the garage went from having 10 mopeds to 17...yikes.

That's my space there in the corner.
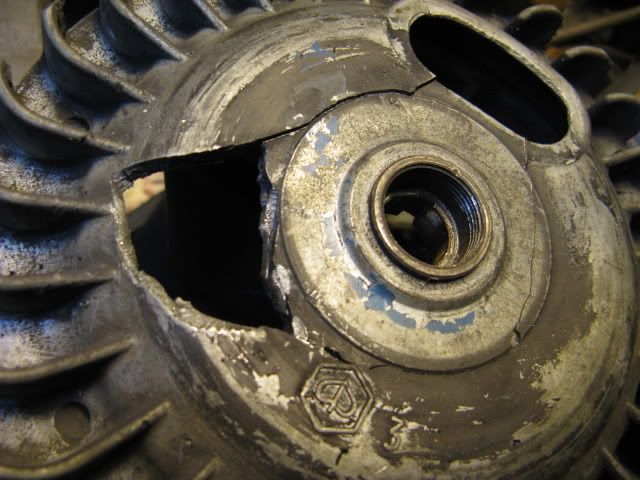
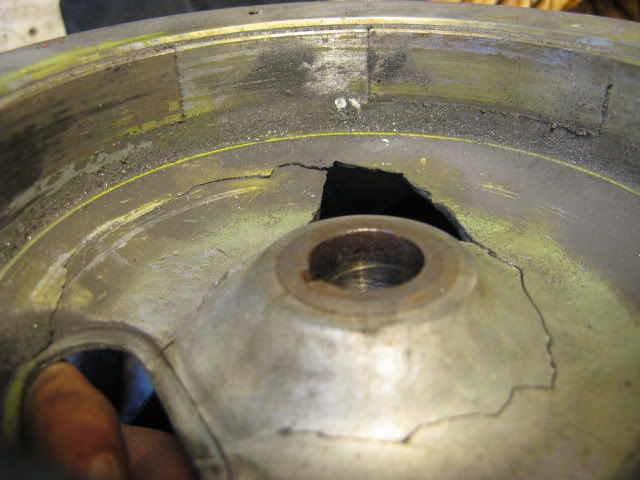
The other day my friend Michael were working on his grande and we discovered this:

double yikes. He also had a cracked subframe in two places...but we won't get into that. ha. Onwards and upwards. He's rebuilding and kitting his Grande. I have seen 3 Grande subframes fail...in similar fashion...I might suggest some reinforcements.
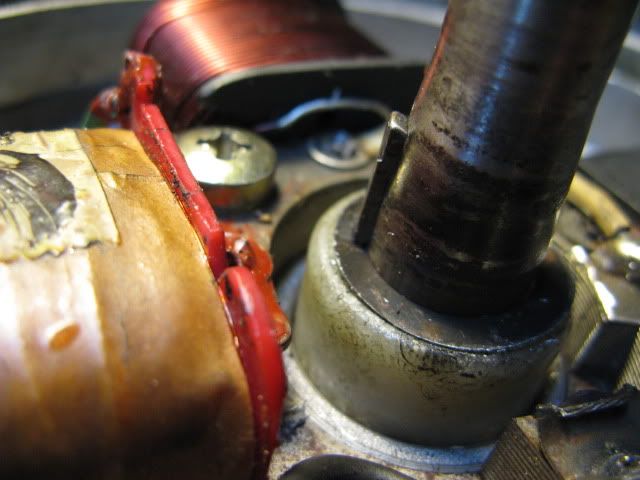
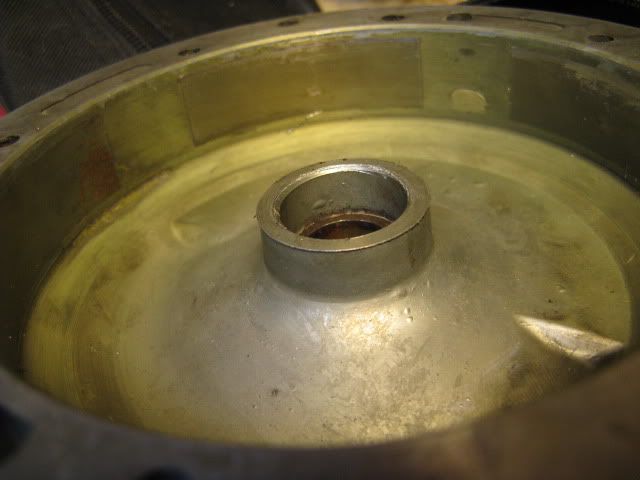
I on the other hand had my own flywheel problems as I have continued to put together the engine for my yellow ciao. For some reason I just couldn't get the flywheel to seat properly. At first I thought that I just wasn't aligning the key hole with the woodruff key...so I took the woodruff key out and it still didn't seat. And then I realized this:

The stock flywheels require a spacer to be placed on the shaft that are either metal or plastic.

And it seemed that the spacer I was using wouldn't allow the flywheel to go all the way down. Then I noticed this:

stock flywheel (never mind the broken parts)

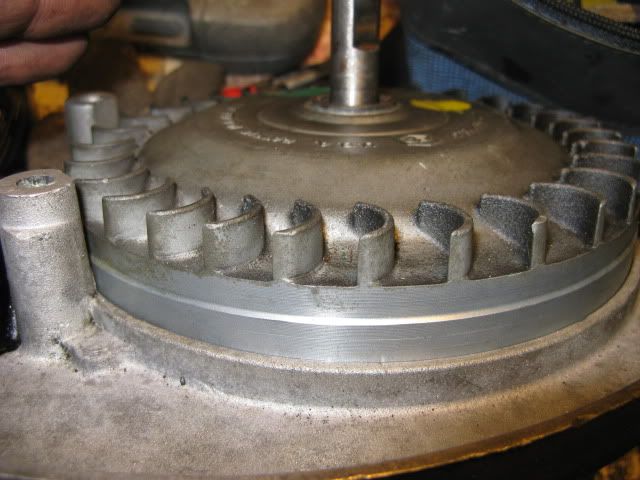
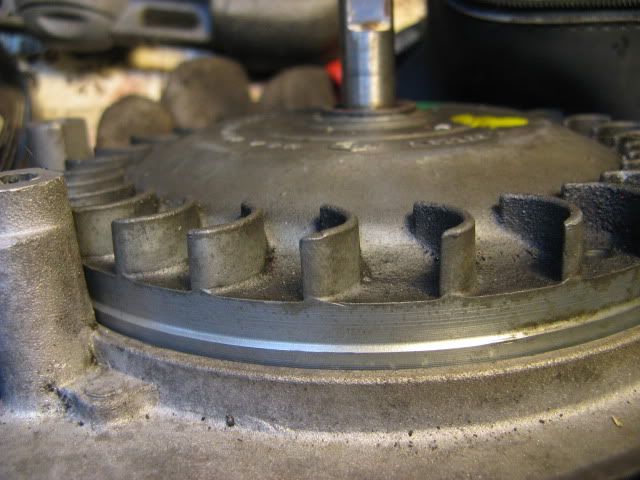
Euro CDI flywheel. See the difference? Spacer built in to the flywheel. Thus I solved my problem.

Monday, October 18, 2010

My name is Judge...


I picked up some euro vespa CDI from one of the Swoops and got a package deal...With the cdi came these cases.

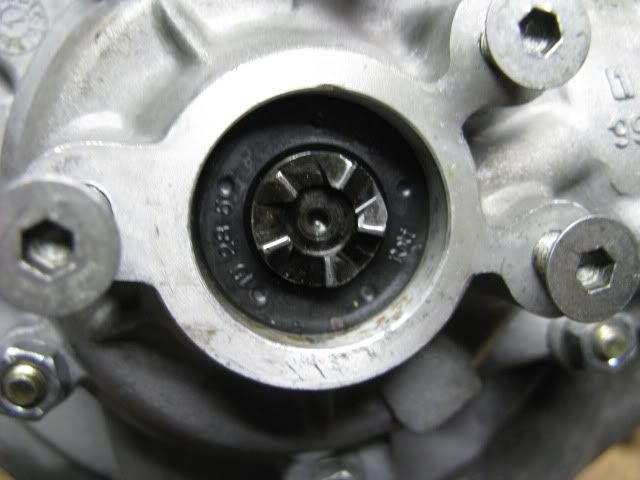
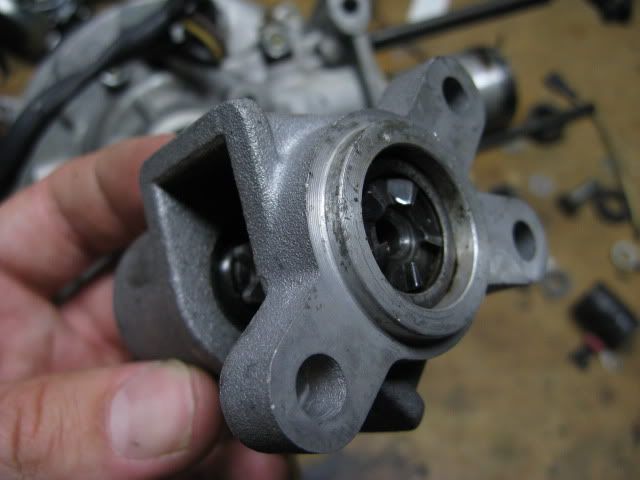
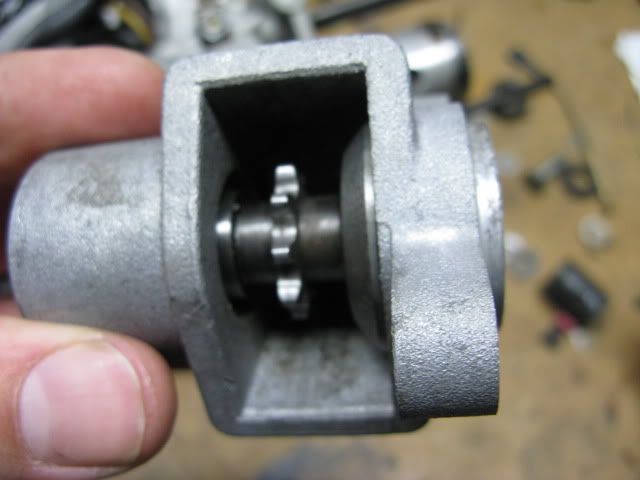
Above is a picture of the small case side. You'll notice that there are gears headed into where the bearing is. Apparently there's also gears on the crank itself. So these gears grab and it spins the crank.

I was told that they were for a "kickstart engine" but after further inspection I'm wondering if its electric start.

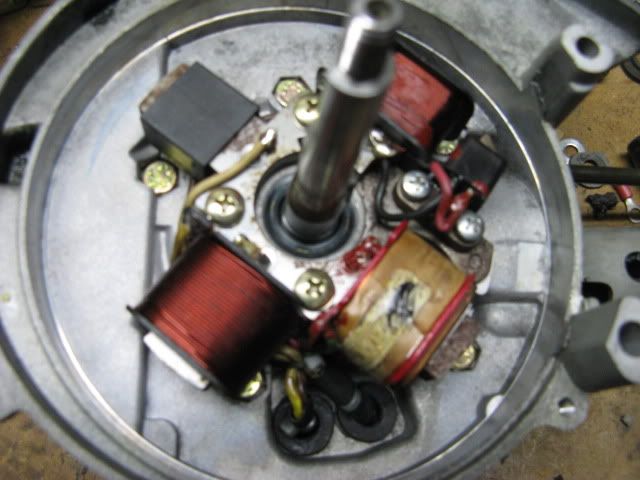
Any thoughts? You be the judge. I'm not using the small case side, just the large one as it has the right mounting for the CDI. Last night I started breaking this engine down and adding over my components from my yellow ciao. On comparison between this CDI and the Kinetic CDI...its crazy. They're so different. I'll get photos of that soon.

Wednesday, July 14, 2010

Back on the Road!

During Whisky Business 3 my super ciao was running GREAT! It was the fastest its ever been. I made it through most of the long ride, but on the final stretch it started doing its strange extreme revving thing again. I pulled over and tried to figure out what was going on, but I couldn't really make sense of the extreme surge of power that was going on. I gave up waiting for chase and tried riding really slowly (since I was only a couple miles away from the end)...This however led to a soft seize...Bonerjamz. Just lost power and the engine whizzed to a stop.

The ciao has been in time out ever since. UNTIL this past weekend. I pulled it out of the basement, tightened a head bolt and an intake bolt (that were really only slightly loose) and fired it up. Runs great. No leaks. Its rich now however because of how hot and humid it is now rather than in may...But I'm not complaining. It must have just been too lean and had a tiny air leak which led it to seize. I'm just glad that I get to ride it again. Looking forward to bringing it to our weekly Wednesday night ride tonight. All of this has really reminded me however that I can't rely on this bike to be my everyday rider. It's awesome news though for sure.

Monday, May 17, 2010

Mission Peugeot 103

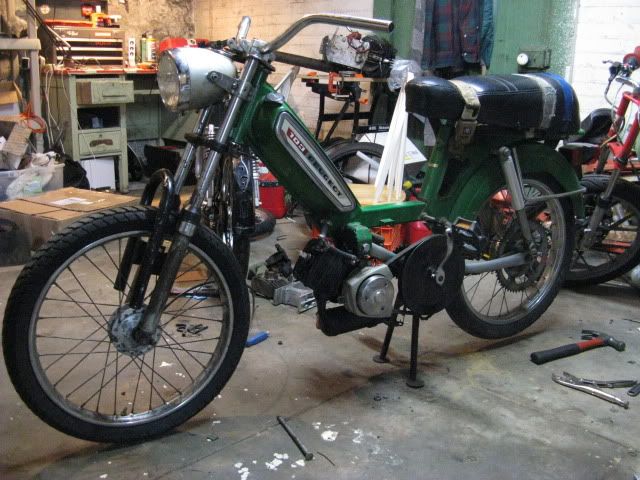
I realized that I need another reliable bike. After surveying the basement to see what was the "most complete" I decided to finally put the 103 together.

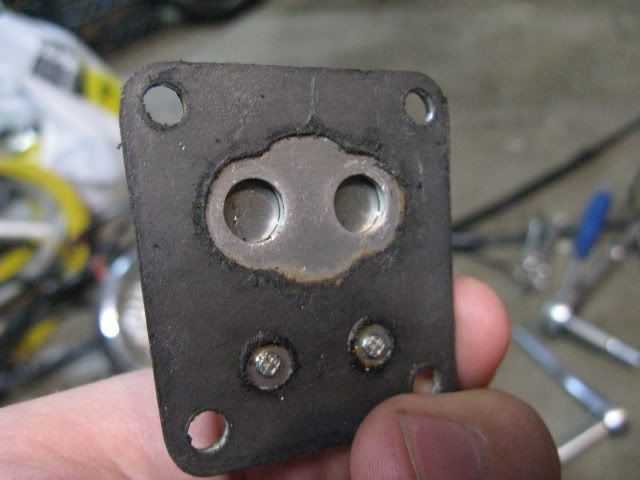
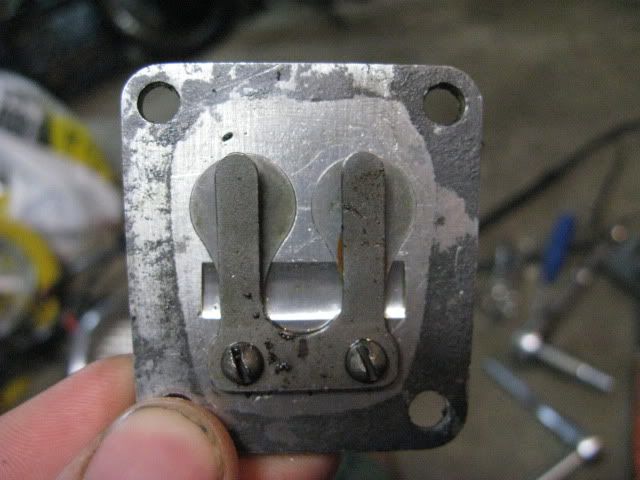
Yes...that's a seat belt holding on the seat. Don't ask me why...it came like that. The reed valve set up is so small. Each little hole opens up to about 8mm. Extremely limiting the bike.

At some point I'd like to put the 19mm intake on that I also got in the trade. I'd also like to toy around with the stock reed set up and see how far I can open it up and cut my own reeds. For now I'll look for a set up via treats, including a different intake. They're pretty reasonably priced. I'll probably just run a 14/12 dell for now. This will hopefully help with reliability...but then again it is French...

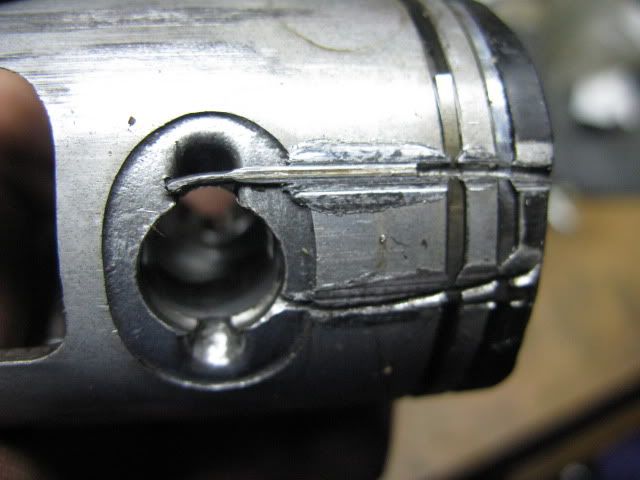
In other news. This happend to Mark Ryan this weekend. He seized his hobbit, took apart his engine and found this...

That straight thing in there is not a paper clip or a staple...its his cir-clip completely straightened out. SCREW THAT!

Thursday, May 13, 2010

Paint by number

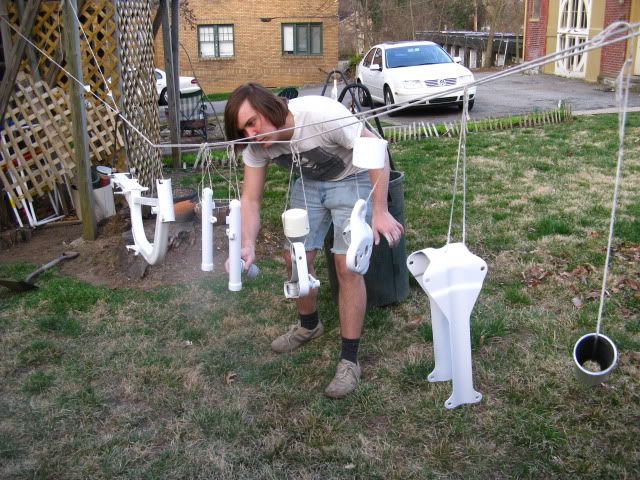
It's be a bit since I've updated. I've been super busy with non moped life related stuff...But about a month or so ago I went ahead and painted the frame and some fork pieces with white spray paint. I figured everyone looks at the tank anyway.

Snowstorm nose...

Tuesday, April 20, 2010