Friday, March 19, 2010

Painting: Phase 2 and Ciao sealed bearings

I have a few parts bikes that I'm trying to get up and running. One of which is a ciao that i got from Nate during the "French Revolution." I had some ciao wheels but i thought I'd seal up those bearings. I popped out the cup and took the wheel down to the bearing shop and found that a 6201 fit nicely.

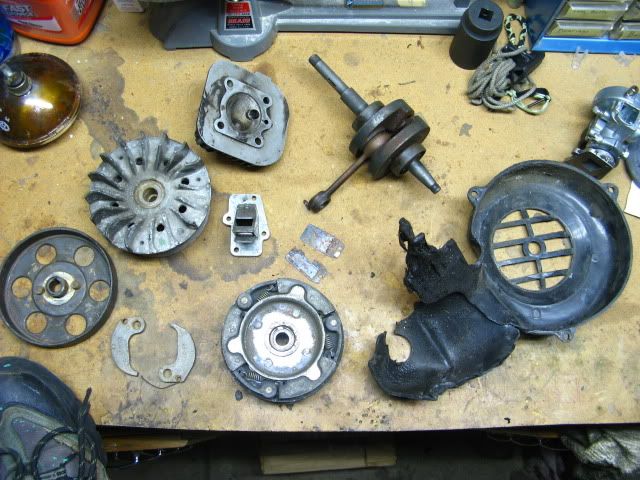
Next I found a pipe that would work as a spacer. You need a spacer that will touch the inner races of each of the bearings. As you can see, my pipe is too long...

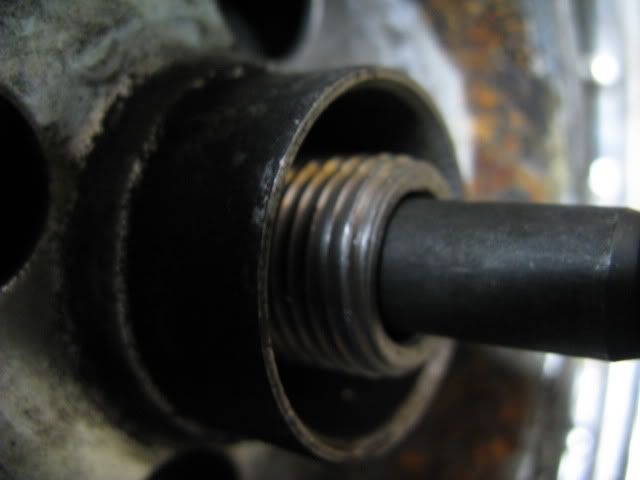
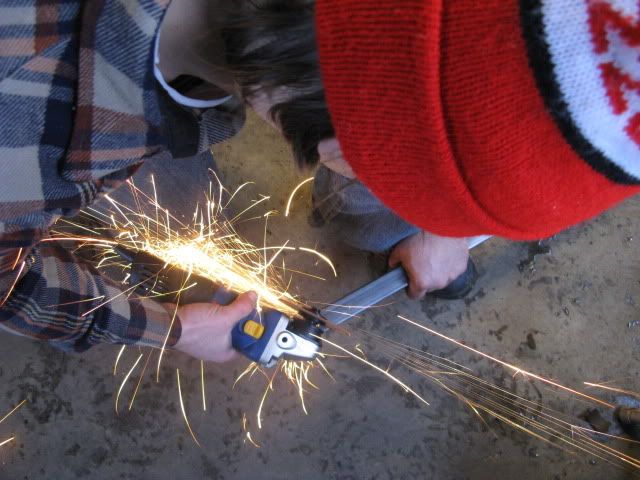
So you have to cut it down to size, you big dummy.

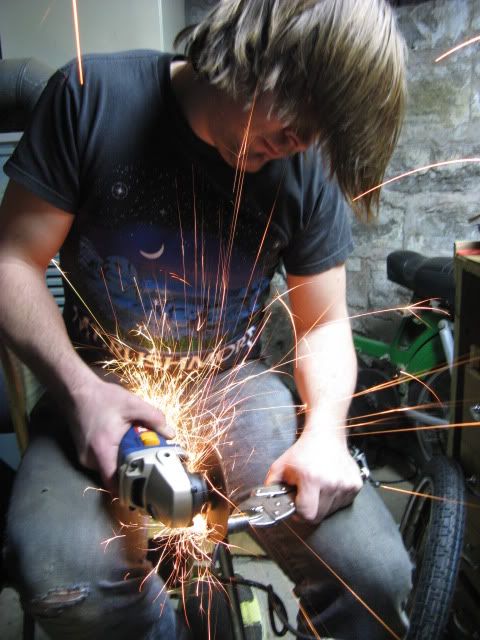
Is it getting hot in here, or is it just my crotch?

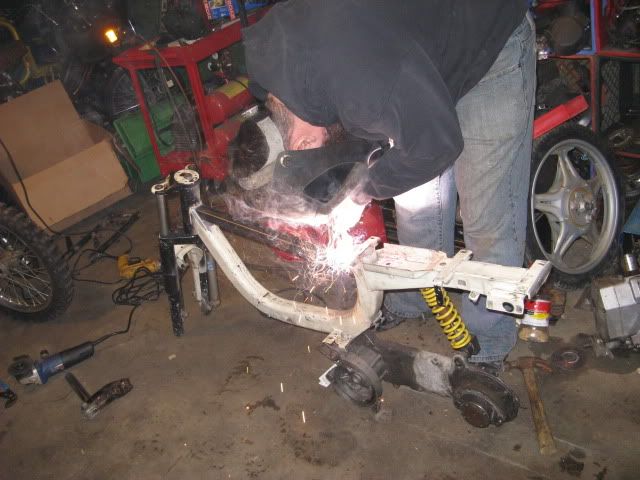
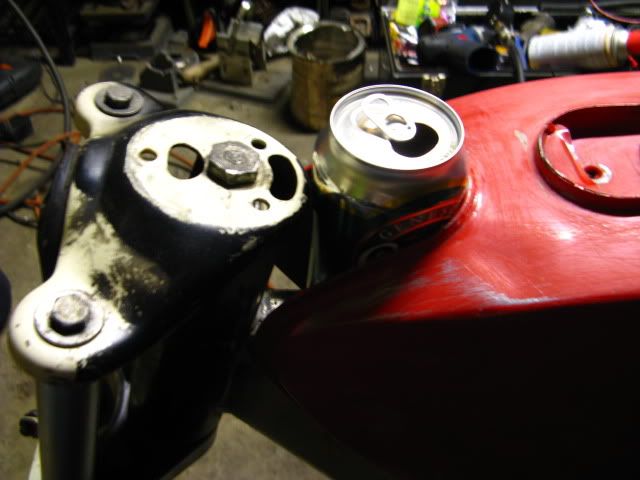
Now that my spacer is the right size, I decided to do myself a favor by packing the outside space with some shop towels. This will make it so that the spacer stays relatively in the same place when you take out the axle...which in this case will just be a bolt (pictured above).

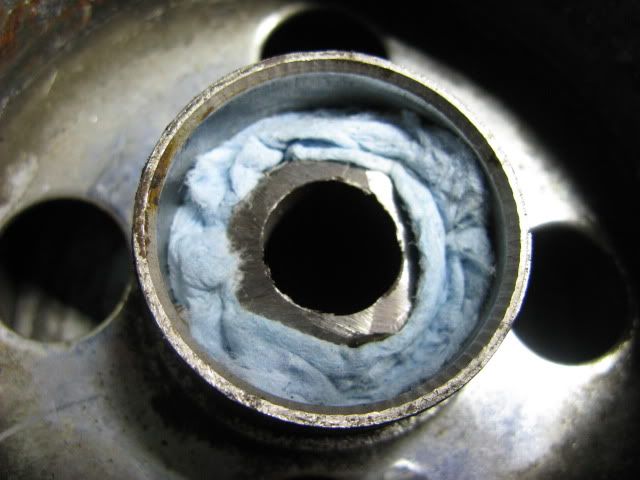
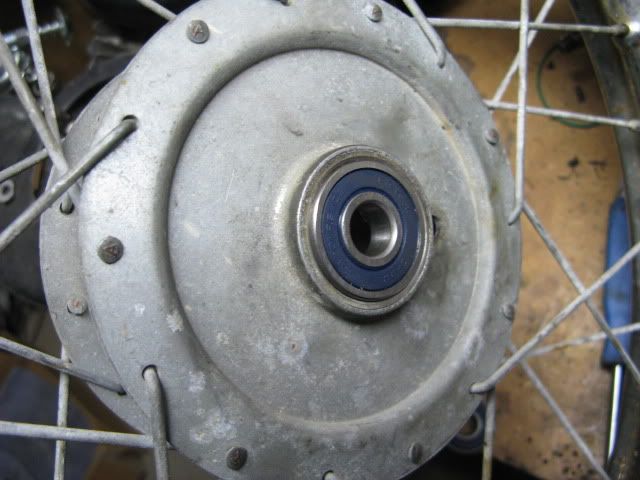
All that's left is to pop in the bearing for the other side and wallah it's sealed.

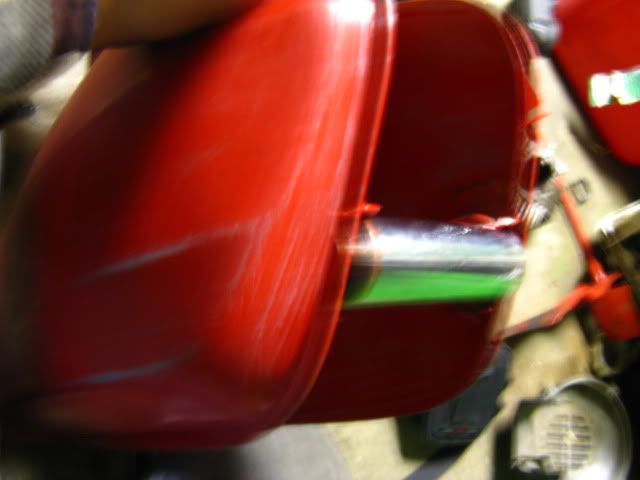
In other news...I got my Sachs G3 tank and seat pan back from the sprayer...BLUE!!! At least there's Vespino cosmetic progress...

Tuesday, March 16, 2010

Whisky Business 3

I'm getting pumped. Whisky Business 3 is just about a month away. Here are some photos from last year that I just got from a coworker. He took them and then forgot to give them to me...until now.


Tuesday, March 9, 2010

Painting: phase 1

I got the opportunity to do some painting at the TBS ice cream factory this weekend. Most of the time was spent sanding down the frame and the fork pieces. Then it was on to the tank. TBS uses an old ice cream mixing tank for their spray area. You have to crawl in a little hole in the side of the tank (which is made out of 3 inch thick steal). The hole looks small, but you can fit a frame in relatively easily. Respirators are a MUST. You see in the video that once you get going it just turns into one huge paint cloud.


Here's everything post painting.


I used gray automotive primer. I'm going to paint the rest of them with automotive quality spray cans (since I'll be back in Louisville). I don't care too much how the frame and fork pieces look since most people don't notice them anyway. As long as they are one solid color with decent quality I'll be happy. I am however getting the tank and seat pan painted professionally for a good price. Larry the paint guy is hooking me up! More pictures to come as we progress.

A big thanks goes out to Paul for helping with the process and for the paint.

Saturday, March 6, 2010

Parrrrrrrrts


So I've been at sort of a stand still on "actual" progress on the Vespino. I need to get some pretty important parts that are simply non existent in the US. I found my way over to vespino.es and was able to locate what i need. Even though at times there's a language barrier, they've been very helpful and haven't given up on me for being a stupid American who speaks little Spanish (or at least the Spanish words needed to talk about moped parts). It turns out that some of the Vespino community saw this blog and were following it on their forum! So rad! They even gave me a login which I happily accepted. They too have been a helpful resource. For now I'm finalizing my order and hope to get this put together for the upcoming riding season.

Thursday, February 11, 2010

Top tank progress

Finally got the inspiration to get some more work done on the vespino. I picked up a square, steel rod at Home Depot for the crossbar and match the square frame.

Mock up and cut.

Nate gracefully welded it up. You'll notice that I also cut off the frame tabs for the gas tank. Won't be needing those.

Cut a seat post and welded it between the crossbar and frame for the tank mounts. Will have to wrap some tape on the ends to cushion it a bit more.

I had to make some adjustments when mounting because the fork tubes were hitting the tank. So I just dropped the tank back a bit creating a nice cup holder.

All together with the seat it looks like this.

Next up painting and decals.

Sunday, January 31, 2010

Peugeot Test Begins

On my visit to handy bikes I came up with a very vintage Peugeotest which is supposed to diagnose those crazy electical problems (that seem to plauge the french). Here's a run down of the procedure.


Step 1. Unpack and assemble Peugeotest.


Step 2. Place lead in sparkplug boot. Attach alligator clamps to areas for testing. (metal clamp to ground, Red insular clamp to testing area)

Close up of Alligator Clamp (be careful, they bite)


Step 3. Turn on machine and count down to test...3-2-1, engage.


Step 4. Use diagram to determine if there's a problem and how to go about solving it. In this case we find out that it's the points!


Other than this, I've used it once to diagnose some vespa electrical issues. So far so good.

Thursday, January 7, 2010

The French Invasion

Woah. So I traded Nate Bandit for a bunch of French that he (or I really) didn't want...but it was too much (good?) to pass up. Some of you might be asking yourselves, "huh, I thought I heard Jason blubbering about 'Italy or Die'?" And the answer is yes, I hate the French. But here's what I got anyway...

Complete Motobecane 40T
Complete Peugeot 102
Mostly Complete Peugeot 103 (missing front forks)
(Not pictured)
Garelli Eureka frame w/NOI Katika(?) engine
Fully Rigid Ciao frame
Motobecane 40T frame

All that traded for my Vespa Si. It hurts to let it go, but feels good to gain so much to sell and barter with.

I sold the 40T frame in 9 seconds on the buy sell; and the complete Moby sold today as well.

Move em' in. Move em' out.